
Connecting Integrations: What Each System Asks For
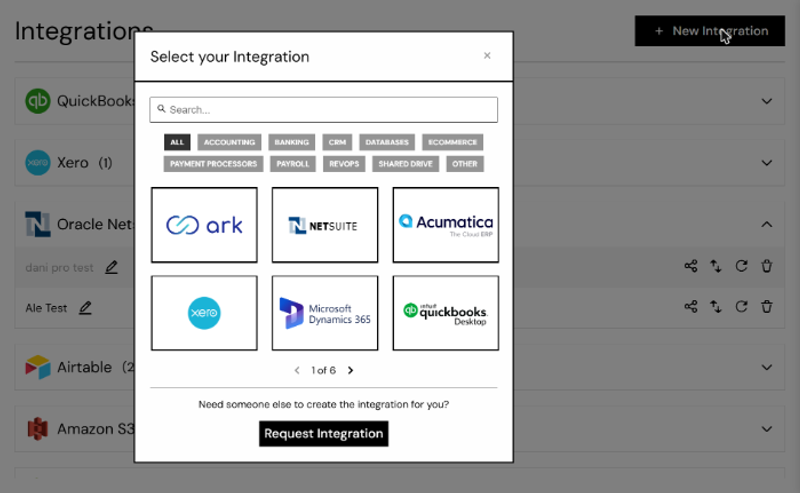
Every integration starts the same way: log in at app.amalgam.me, click New Integration, and pick the system. What happens next depends on how that system lets outside apps connect. This page tells you what to have ready before you click. Where a system needs setup on its own side, the connect page in Amalgam shows the instructions in a panel next to the form.
Sign In and Approve
Section titled “Sign In and Approve”These systems send you to their own sign-in page. Sign in, approve the access request, and you are returned to Amalgam with the integration ready. Have the login of an admin or owner of that account to hand.
QuickBooks Online, Xero, Microsoft Dynamics 365 Business Central (beta), Gusto, HubSpot, Brex, Ramp (beta), Square, Shopify, Amazon Seller, Google BigQuery, Google Ads, TikTok, Google Drive (beta) and Microsoft SharePoint (beta).
Two notes:
- Shopify needs a login with the Manage and install apps and channels permission. See Which Permissions Do I Need to Connect with Shopify?
- SharePoint on some Microsoft tenants cannot be approved by a regular user. A Global Administrator or Cloud Application Administrator approves Amalgam once for the whole organization, after which anyone can connect.
Bank Accounts
Section titled “Bank Accounts”Plaid opens its own window where you choose your bank and sign in with your online banking login. See How to Use the Plaid Integration.
Fill In a Form, Then Sign In
Section titled “Fill In a Form, Then Sign In”- Oracle NetSuite: Company name, Account ID, Client ID and Client Secret, after which you sign in to your NetSuite account. The connect page explains where each value lives in NetSuite, and the NetSuite-side settings are in the NetSuite Integration Checklist.
- Acumatica: Instance URL (for example
https://tenant.acumatica.com), Client ID and Client Secret, then sign in. Acumatica needs an Amalgam customization project imported first; the connect page walks through it.
Keys and Tokens
Section titled “Keys and Tokens”Create the key or token in the other system, then paste it into Amalgam’s form. Each system’s field names:
- Sage Intacct: Company ID, Username, Password, and optionally a Console ID (if you log in through an external account) and an Entity ID (if your access is scoped to one entity). Instructions on the connect page.
- Stripe: Company Name and API Key. Instructions on the connect page.
- PayPal (beta): Client ID and Client Secret from a REST app in your PayPal Developer Dashboard, under My Apps & Credentials. The connect page walks through creating the app; it takes about five minutes.
- Rippling (beta): Company Name and an API Token generated in Rippling under Settings > API Tokens.
- Rillet: your API Key.
- ReCharge: API Key. Instructions on the connect page.
- LeanLaw: Company Name and Private Key. Instructions on the connect page.
- Maxio: Integration Name, your Account URL including the account ID, and API Key.
- Bookkeep: Publishable Key and Secret Key.
- Airtable: Company name, Private Key, Workspace ID, and optionally the table name in the base. Instructions on the connect page.
- Postgres (beta): Integration Name, Host, Port, Database, Username, Password, and optionally an SSL Mode. The database must be reachable from the internet.
QuickBooks Desktop
Section titled “QuickBooks Desktop”QuickBooks Desktop works through Intuit’s Web Connector, which runs on the machine where QuickBooks is installed. In Amalgam, enter the Company Name and the File Path of the company file. Amalgam then downloads a .qwc file; add it to the Web Connector to complete the link. The connect page has the full walkthrough. QuickBooks and the Web Connector must be running with that company file open whenever Amalgam pulls data.
If a System Is Missing
Section titled “If a System Is Missing”The picker shows the systems available to your team. If the one you need is not there, use Request Integration or email support@amalgam.me.